Learning how to drill through metal can be a bit more challenging than drilling other materials like wood or plastic.
But don’t worry, we’ve got you covered!
In this step-by-step guide, we’ll walk you through every step so you can successfully drill through metal like a pro.
Whether you’re working on a one-off project or a professional tradesperson, this guide will come in handy for any metal drilling project.
So, grab your safety glasses and let’s learn how to drill through metal!
1. Protect Yourself
Speaking of safety glasses, let’s talk about safety!
When it comes to drilling through metal, eye protection is absolutely essential. Those high speeds can send tiny metal shards flying, and trust me (and the emergency room staff), you don’t want those getting anywhere near your eyeballs.
Here are a couple of tips to keep yourself safe:
- Make sure you’re wearing appropriate eye protection before you even think about starting that drill. Safety glasses that wrap around the sides of your face provide the best coverage and ensure that your precious peepers are shielded from any potential harm.
- Be mindful of loose clothing, gloves, and even long hair. They can easily get tangled up in the spinning drill bit, and that’s a whole other kind of danger you definitely want to avoid.
2. Clamp It
Trying to drill into a piece of metal without securing it is a recipe for disaster. If the drill bit catches, it could cause the metal to spin around, like something straight out of the BattleBots ring!
To prevent this dangerous situation from occurring, it is essential to place your metal on a sturdy surface and use a minimum of 2 clamps to hold it securely in place.
If your working with thin sheet metal, those tend to slide around most. However, there is a simple trick we like to use to make the process much easier. By clamping your metal sheet between 2 pieces of wood, you can keep it flat and secure while you’re drilling through it. The pressure from the clamps will hold the metal in place, preventing any unwanted movement or shifting.
3. Make A Dimple
Drill bits can sometimes wander when you first start drilling, which can result in an inaccurate hole. One sure-fire way to prevent this from happening is to create a small dimple.
Before you begin drilling, measure and mark where you want the hole to be. Then, take a center punch and hammer and gently tap the center of your mark to create a small indentation or dimple. This gives the tip of your drill bit a place to ride in as you begin to drill, ensuring that your hole starts exactly where you want it.
It may seem like a small step, but it can make a big difference in the overall accuracy.
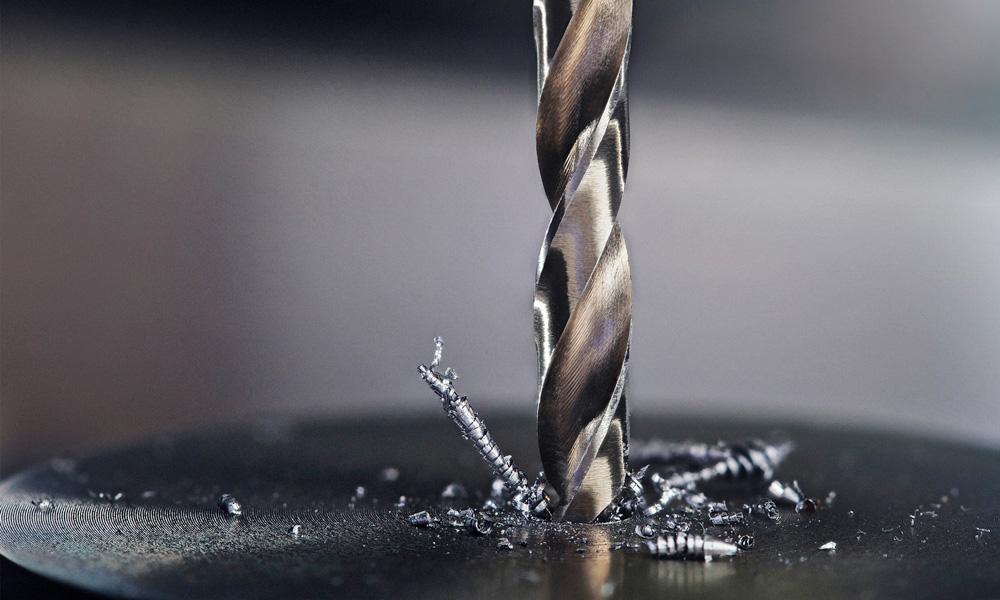
4. Choose A Bit
There are a variety of drill bits that can get the job done, but which one is best?
For general purpose, a basic twist bit made of high-speed steel is perfectly suitable. These inexpensive bits are designed to drill through various materials, including metal, wood, and plastic.
But, if you anticipate drilling numerous holes or need to drill through a tough metal like stainless steel, it may be worth investing a little more in a drill bit made from black oxide or cobalt steel. These specialized bits are much more durable and will last MUCH longer before needing to be replaced.
If you’re finding it difficult to achieve clean and accurate holes with a standard drill bit, consider switching to a step bit. These cone-shaped bits are specifically designed for drilling holes in metal, and they excel at creating precise and smooth holes without any burrs or rough edges.
5. Grab Your Drill
A handheld drill will work perfectly fine for occasional metal drilling. But, if you find yourself needing to drill a lot of holes, it might be worth considering an upgrade to a drill press.
Unlike handheld drills, drill presses are specifically designed for metalworking and offer several advantages:
- They provide more stability and precision, allowing for more accurate drilling.
- The adjustable speed settings also make it easier to control the drilling process.
- An adjustable depth stop allows you to control the depth of your holes
So, while a handheld drill will work perfectly fine for occasional metal drilling, investing in a drill press can make your life much easier if you frequently find yourself working with metal.
6. Start Small
If your drilling a large hole, starting with a small hole can make the task much easier.
By beginning with a smaller hole, around 6mm in diameter, you can gradually work your way up to the desired size. This method allows for more control and reduces the risk of damaging the material or losing accuracy.
Another option to consider is using a hole saw, which is specifically designed for cutting larger holes. Hole saws are available in various sizes and can be attached to a drill for efficient and precise hole creation.
Whether you choose to start with a small hole or use a hole saw, taking these approaches will help ensure that you achieve the desired result when drilling larger holes.
7. Go Slow
Start off at a slow rotation speed when drilling into metals to ensure optimal results and prevent damage. This is especially important when working with hard metals, as a slow speed will prevent excessive heat from dulling your drill bit.
For small twist bits up to 13mm, a rotation speed of around 3,000 rpm is recommended for drilling through most metals effectively.
However, when using larger twist bits up to 26mm, it is advised to lower the rotation speed to a range of 350 to 1,000 rpm. By starting at a slower speed and only increasing if necessary, you can achieve precise and efficient drilling while also prolonging the lifespan of your drill bit.
8. Use Lubrication
When it comes to drilling holes in steel that is 1/8 inch or thicker, using cutting fluid can make all the difference.
By lubricating the bit, you reduce friction and heat buildup, resulting in easier drilling and prolonging the lifespan of your bits. It’s a simple but effective way to ensure that your drilling projects go smoothly and that your tools last longer.
9. Remove That Sharp Edge
Now that you have your hole, it’s time to tackle the sharp edge! This step, known as deburring, is essential for ensuring a clean and safe finish.
Deburring involves removing any rough or jagged edges left behind after drilling the hole. By smoothing out these edges, you not only create a more polished appearance but also eliminate potential hazards such as cuts or snags.
There are a couple of options for achieving this:
- Use a metal deburring tool designed specifically for this purpose. This tool effectively grinds away any burrs left over from drilling, leaving a smooth and polished finish.
- Utilize a drill bit that is slightly larger in diameter than the hole itself. By twisting this larger drill bit by hand over the top of the hole, you can effectively grind away any remaining burrs.
Whichever method you choose, taking the time to neaten and smooth any rough edges will contribute to a professional and high-quality result.
How To Drill Through Metal
By following this step-by-step guide on how to drill through metal, you’ll be equipped with the knowledge and techniques necessary to tackle any metal drilling project with confidence.
Remember to choose the right drill bit, use lubrication, and prioritize safety throughout the process. With a little practice and some patience, you’ll be able to create a perfect hole.